How to Projector Map Your Door for a Jaw-Dropping Halloween Effect
Step 1: Prep Your Door for Projection
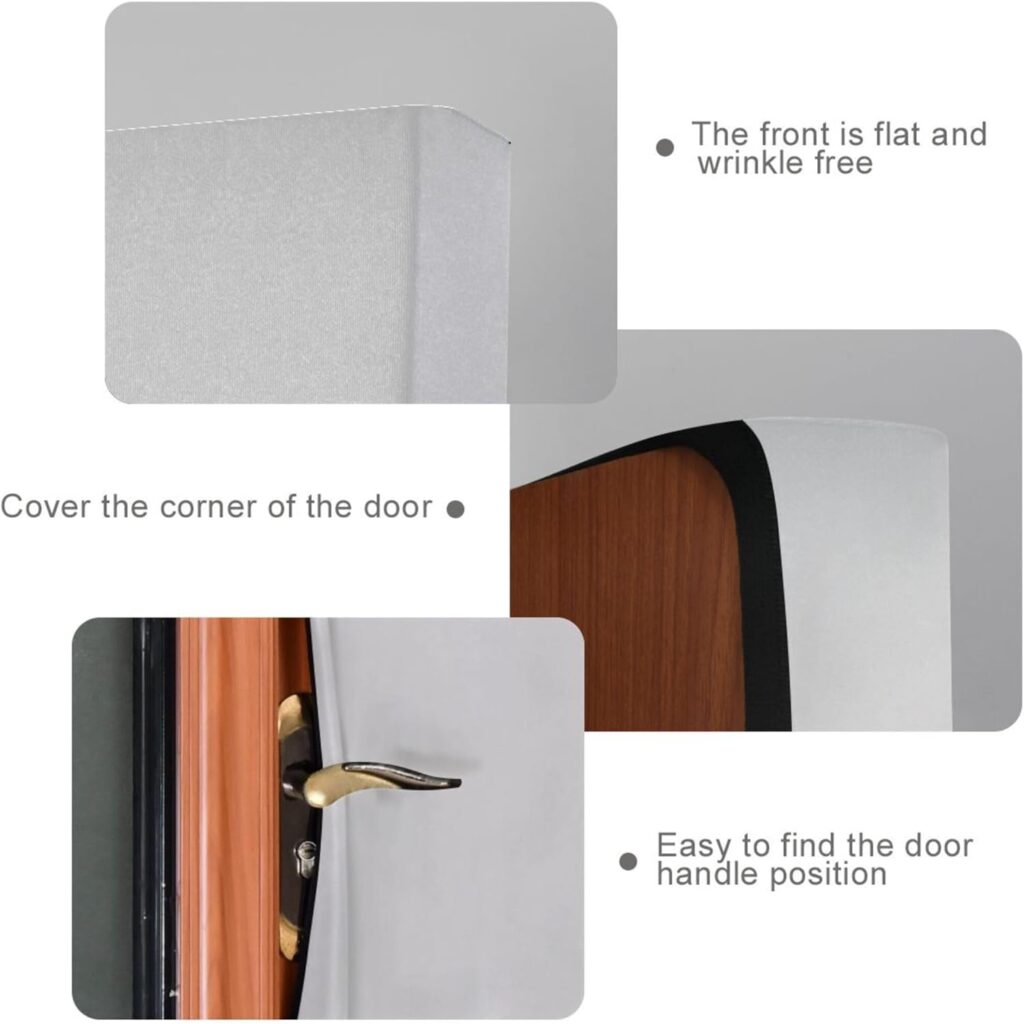
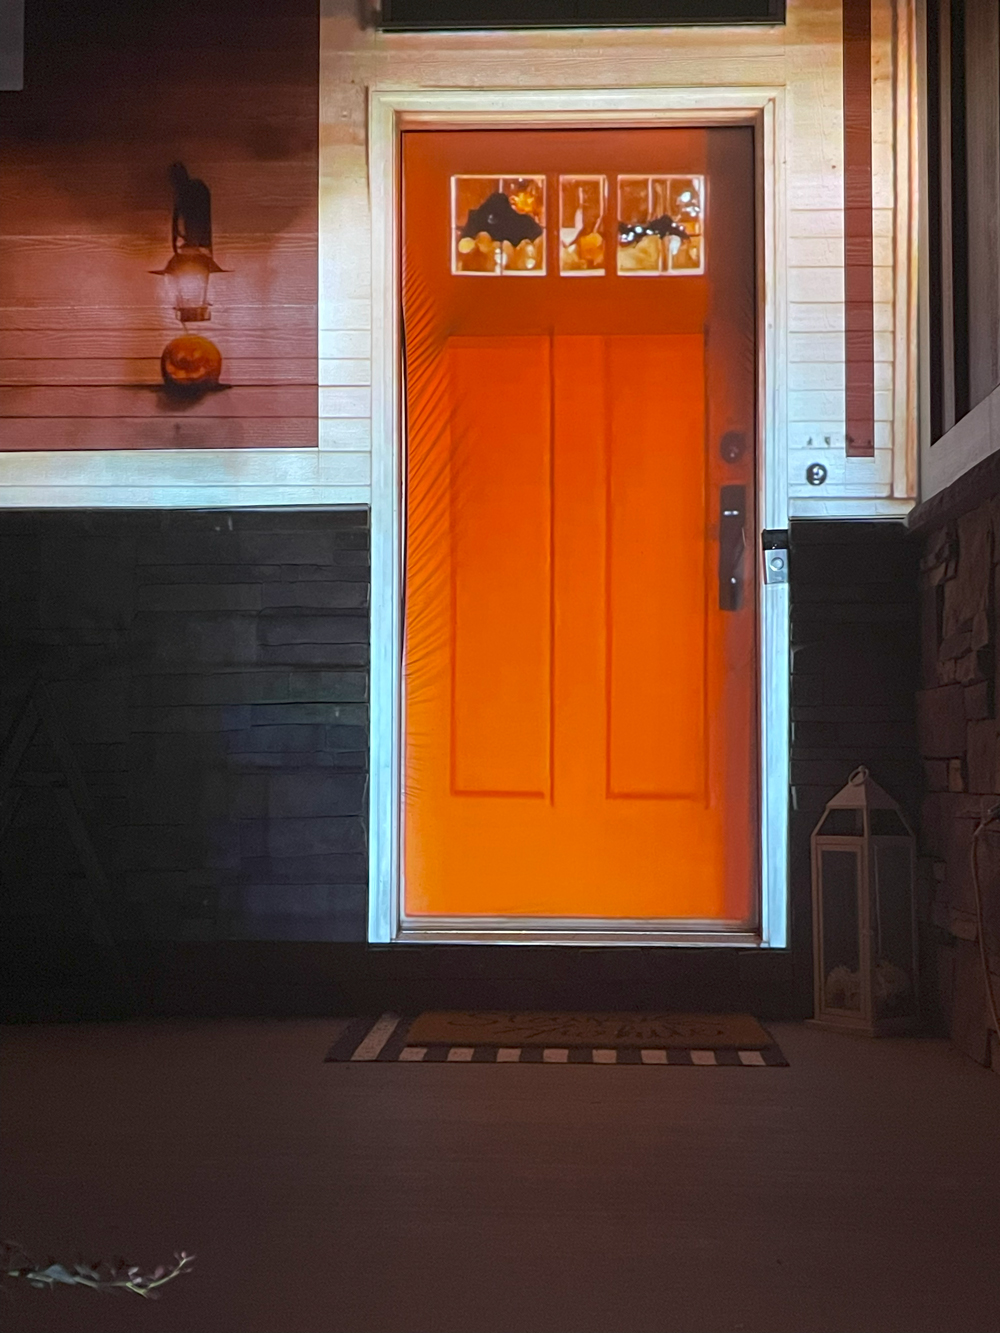
Not all doors are projection-ready. If your door has windows, dark paint, or detailed panels, those textures can distort your animations. Luckily, we found a game-changing solution:
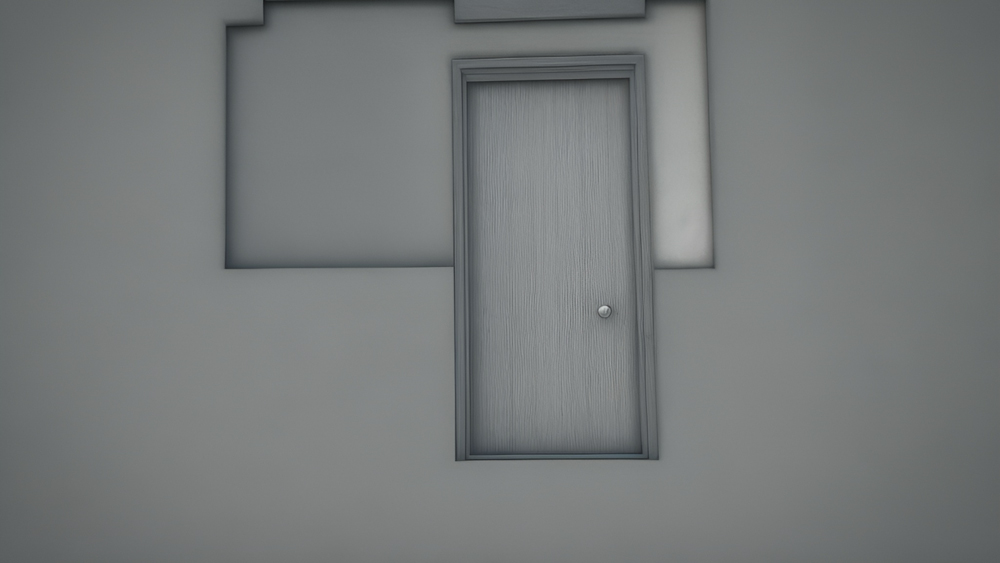
Product Tip: Use a Light Gray Decorative Stretch Door Cover (32″x79″). It fits snugly, hides window glass, smooths out textures, and creates a perfect neutral canvas for your projector. You can find these online under party or cabinet door decor — look for light gray or pale tones to reflect light best.
This simple addition instantly turned our black front door into a clean projection surface.


Step 2: Trace and Map the Door Area
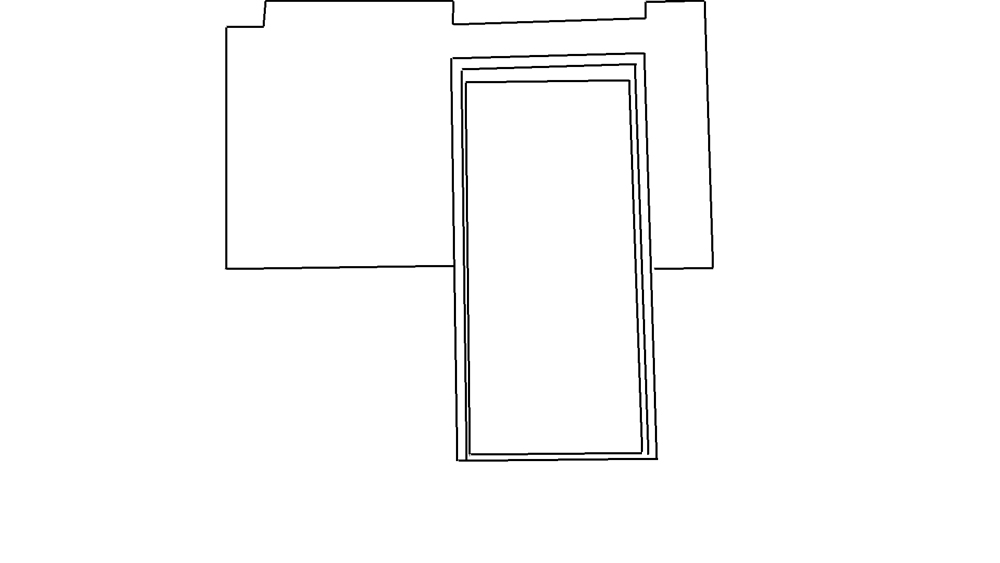
Instead of just projecting characters on your door, we went a step further — we traced the outline of the door using our DigitalPressWorks tool and created a digital facade map. This allows you to animate the entire door, not just the characters.
You can:
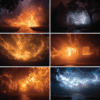
- Animate cracks, fire, fog, or glowing runes appearing on the door
- Make the door appear to bulge or vibrate before a character breaks through
- Sync the character’s movement with reactions on the door (like scorch marks or glowing impact points)
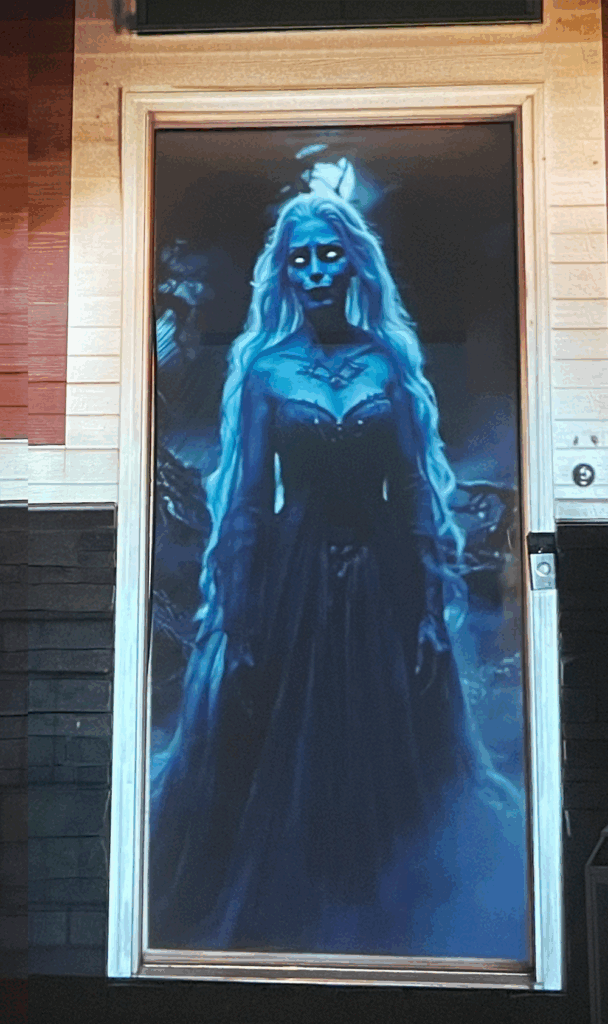
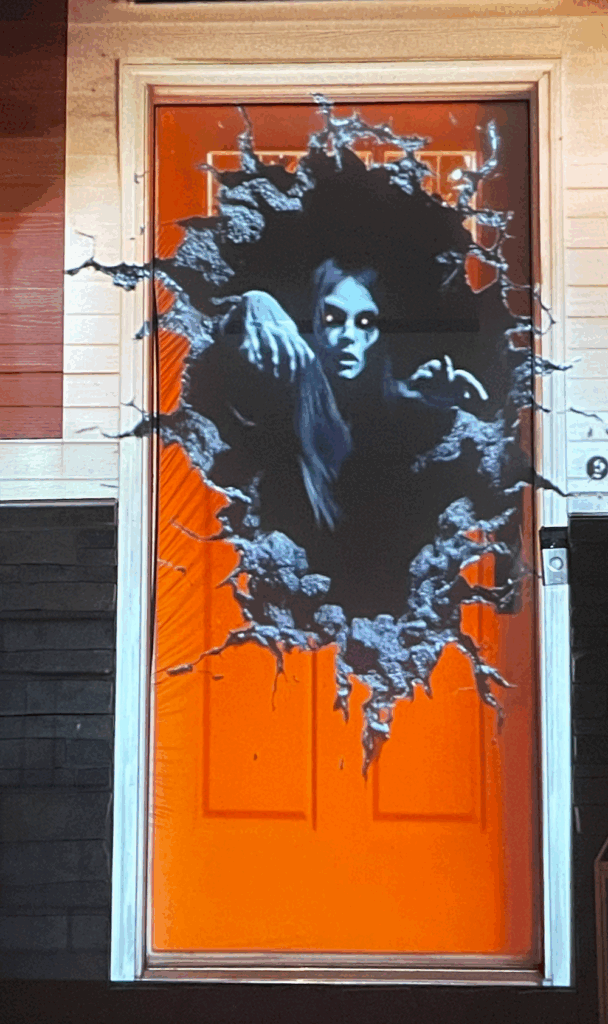
Using Adobe After Effects, we aligned our animations (like Nyxia and Wailing Banshee) perfectly inside the door frame, then added custom effects to the door panels for an extra layer of realism and drama.
Here is our video tutorial on how to trace / map objects using DigitalPressWorks free software.
Step 3: Choose the Right Characters and Effects
Here’s what we tested with great success:
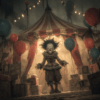
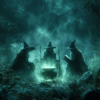
- Nyxia the Wall Breaker: Her break-through animation looks terrifying coming directly from the center of your door. She’s bold, aggressive, and perfect if you want a jump-scare effect.
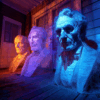
- Wailing Banshee: Floaty and ethereal, she adds a haunting presence to the door. Loop her before your main animation to build suspense as she screams and phases in and out.
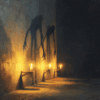
- Trick ‘r Treat’s Sam (AtmosFX): His size fits well with most door projections. We loved having him peek around the door or knock ominously before fading away. Great for subtlety and charm with a hint of menace.
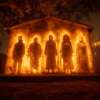
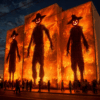
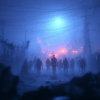
- HallowFX “Halloween Doorway”: This one is made for doors. In this looping projection, four Halloween ghouls appear one by one from behind the door to greet your neighbors. It’s fun, creepy, and highly interactive. You can project this in either vertical or horizontal mode, making it versatile enough to work on a wall or directly over your front door. The idea of “not knowing who might answer the door” adds a delightful layer of suspense and humor.
💡 Pro Tip: If you’re using the HallowFX “Halloween Doorway” projection, try layering it with subtle lighting or door effects (like flickers or knock shadows) to really sell the illusion that these creatures are inside your house.
Step 4: Projector Setup Tips (and How to Hide It Like a Pro)
To pull off a clean, convincing door projection, your projector setup is just as important as the animation itself. Ideally, you want the projector pointed straight on at the door for the cleanest alignment and sharpest image. But let’s be real — if your guests see a glowing projector sitting in the driveway, it kills the illusion. So here’s how to make it look like pure Halloween magic.
🔧 Ideal Setup:
- Throw Distance: Use a short-throw projector (like the BenQ TH671ST or Optoma GT1080) if your porch or yard has limited space
- Lumens: Aim for at least 2,500–3,000 lumens for a bright, crisp image — especially in areas with ambient lighting
👻 How to Conceal Your Projector (So No One Sees the Magic Trick)
Here are some of the best methods we’ve used (and seen) to hide your projector while still getting great results:
🎃 Inside a Prop (Pumpkin, Tombstone, or Crate)
- Hollow out a foam pumpkin, tombstone, or even a wooden crate and place the projector inside with a cutout for the lens
- Add some mesh or black scrim fabric over the front to hide the glow while keeping visibility
- Bonus: Add flickering lights or fog around it to make it look like part of your decor
🪜 Above the Action – Mount High, Point Down
- Mount the projector on a roof overhang, porch beam, or from a second-story window pointed down at the door
- Use adjustable wall brackets or small tripod mounts secured to a railing or column
- A high angle reduces visibility and helps protect it from foot traffic or curious kids
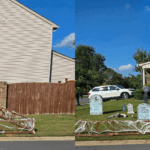
🌿 Behind the Bushes (or in the Landscaping)
- If your house has landscaping near the front door, nestle the projector low behind a shrub or inside a decorative planter box
- Add a couple of fake Halloween vines or leaves to help blend it in
- Make sure to cut a clean line of sight to the door or use a slightly raised stand if the foliage is too thick
🪵 Inside a Faux Fence Section or Obelisk
- Create a mini fence section or decorative pillar/obelisk as part of your front yard setup
- Build it tall enough to place the projector inside and cut a small viewing window for the lens
- This works especially well if you’re already using themed fencing for your yard haunt
💡 Quick Tip: Blackout the Area Around the Lens
No matter how you hide the projector, black out the space around the lens with fabric, tape, or foam to prevent stray light from leaking out. This keeps your focus sharp and avoids weird light spill across the yard.
With a little creativity, your projector becomes invisible to the crowd — letting your haunted door illusion steal the show.
🛠️ Tools & Materials You’ll Need
- Short-throw projector (2,500+ lumens recommended)
- Light gray stretch door cover (32×79”)
- Laptop or media player
- HDMI cable or wireless casting device
- Digital animations (Nyxia, Banshee, Sam, HallowFX Doorway, etc.)
- Tripod, shelf, or prop to hold/hide projector
- Video editing software (like Adobe After Effects for mapping)
- Optional: motion sensors, speakers, fog machines, lighting
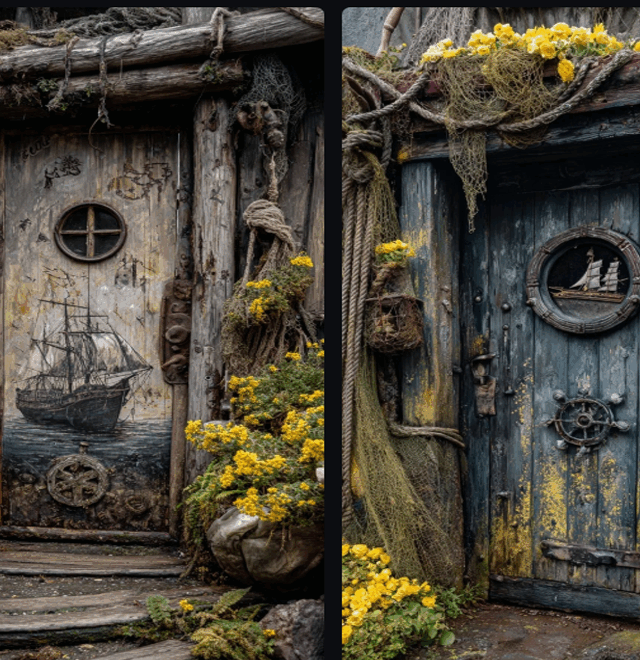
🎨 Creative Facade Design Ideas for Doors
One of the most exciting parts of door projection mapping is that you’re not limited to characters breaking through — you can transform your entire door into a storytelling surface. With a little tracing and editing, your door can become a haunted relic, a cursed portal, or a spooky character all on its own.
Here are some of our favorite themed facade ideas to spark your imagination:
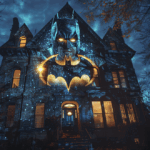
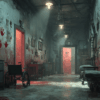
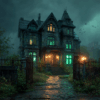
👻 Haunted Mansion Door
Turn your entryway into a forgotten doorway from a ghost-ridden manor.
- Add animated cobwebs, creaking hinges, glowing cracks in the wood, and flickering candlelight around the frame.
- Use sound effects like whispering voices, distant organ music, or slow knocking.
- Loop ghostly faces or silhouettes passing behind the door — perfect setup for a surprise scare!
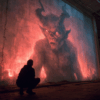
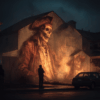
🔥 Demonic Portal
Make your door look like it’s barely containing the evil inside.
- Add glowing runes that pulse with energy, cracks that ooze lava, or claw marks that appear and vanish.
- Combine with characters like Nyxia the Wall Breaker for a full-on infernal breakout.
- Add smoke/fog machines nearby to complete the summoning ritual feel.
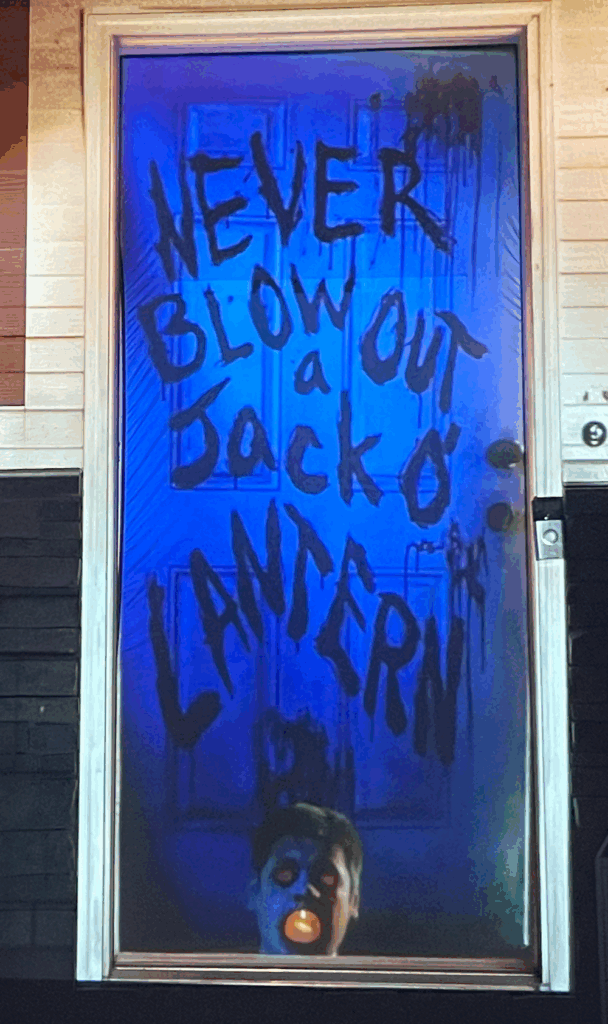
🎃 Pumpkin Patch Portal
Great for a slightly spooky, family-friendly display.
- Surround the door with projection-mapped pumpkins that blink, talk, or change expressions.
- Animate pumpkin vines creeping over the edges or jack-o’-lantern eyes glowing in sync with music.
- Perfect pairing with Trick ‘r Treat’s Sam (just maybe skip the head-carving version for the kids…).
❄️ Frozen Horror Door
A chilling twist for haunters who want to go icy instead of fiery.
- Animate frost slowly overtaking the door surface with cracking glass textures.
- Add a trapped spirit frozen behind the door pounding to get out.
- Combine with a cold blue light wash or light snow effects for extra ambiance.
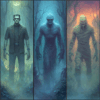
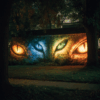
👁️🗨️ Possessed Door with a Mind of Its Own
What if the door is the character?
- Add a glowing central eye that opens and scans visitors.
- Animate the panels to shift and bulge like something’s trying to push through.
- Sync subtle growling or mechanical creaking with the animation to creep people out without any jump scare.
🧪 Mad Scientist’s Lab Door
Perfect for techies or sci-fi haunters.
- Add animated warning signs, digital keypads, or static distortions on the door
- Use glowing green or purple light effects to simulate chemical leaks
- Project blinking lights, voltage sparks, or X-ray visuals of something moving inside
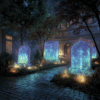
📚 Haunted Library or Wizard’s Portal
For a more magical or gothic vibe.
- Make your door look like it’s made of ancient wood and bound in spell runes
- Books appear to slide open, glowing symbols float and fade
- Great backdrop for fantasy characters or ghosts of long-lost scholars
💡 Bonus: Add Dynamic Details
Whatever theme you choose, layering subtle effects can sell the illusion:
- Shadows of hands or creatures on the other side
- Fog rolling from the edges of the door
- Door handles jiggling or chains rattling
- Lights flickering in sync with thunder sounds
Final Touch: Add Sound & Interactivity
Pair your mapped animation with spooky sound effects or background ambiance. You can even set up a motion sensor so animations trigger when someone approaches the door. For full effect, hide your speaker near the door frame and sync it with the animation’s timeline.
By creating a mapped door facade to match your theme, you make your door more than just a screen — you turn it into a character. Whether your guests are laughing, screaming, or just snapping selfies, they’ll remember your door long after Halloween night ends.