How to Add Video Effects to a Pirate Door for Halloween
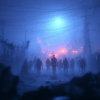
Nothing stops Halloween fans in their tracks like a prop that looks alive. A pirate-themed haunted door with an animated porthole is the perfect centerpiece for your display — part DIY build, part digital illusion. By hiding a screen or projector behind the frame, you can turn a static decoration into a living scene of ghostly ships, stormy seas, or even monstrous kraken tentacles.
This guide will walk you through every step of the process, from building the base door to dressing it up with sea-weathered details and choosing the perfect animations.
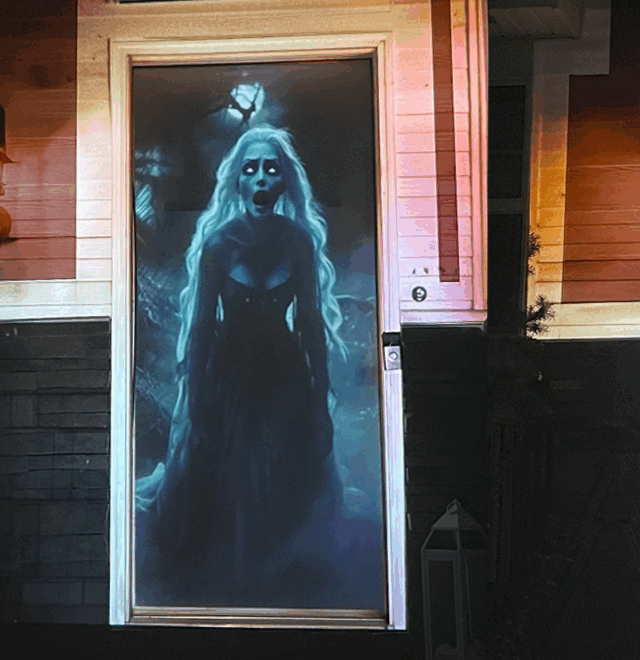
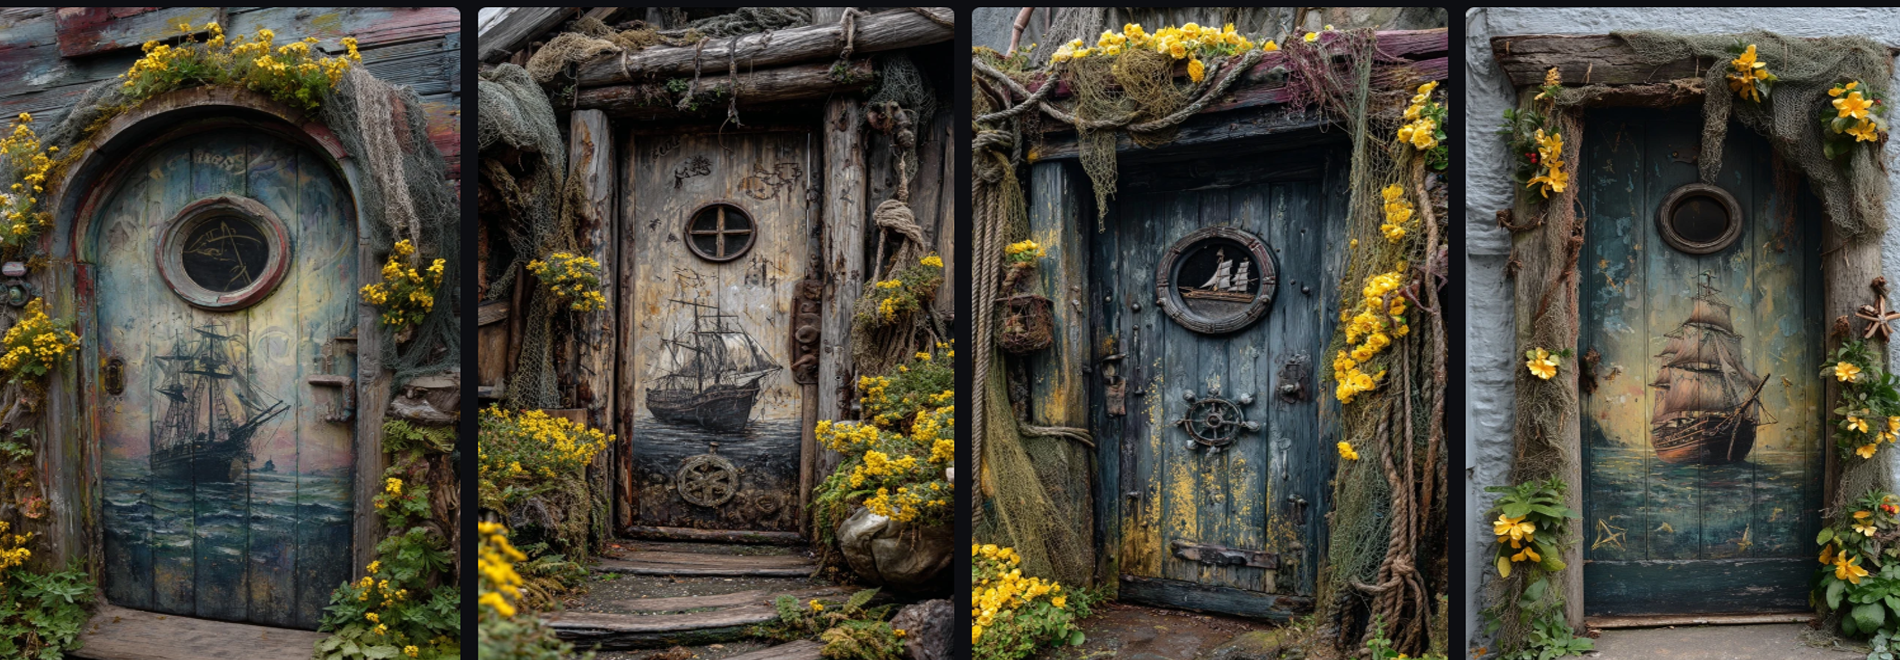
This custom pirate door was built from weathered wood planks and dressed up with moss, fishing net, and even a tentacle door handle for that shipwreck-at-the-bottom-of-the-sea vibe.
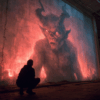
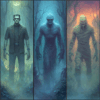
But the real magic happens in the porthole window. Behind the frame, a screen is mounted that loops a ghost ship animation sailing through a storm. With the video running, it looks like you’re peering straight out into the haunted seas. The combination of digital movement and practical details makes the illusion feel alive — like the ship might sail right past you or something monstrous might suddenly appear.
Materials You’ll Need
Before diving in, gather your materials. The right mix of physical textures and digital effects will sell the illusion:
- Pirate-Style Door Base – Use a wooden door, pallet planks, or a foam board made to look like aged wood.
- Porthole Frame – Available online or from marine supply shops; metal or resin works best. Round is traditional, but octagonal can add flair.
- Display Device – Small flat-screen TV, old computer monitor, laptop screen, or a mini pico projector. (Flat screens are easier for beginners, projectors give more flexibility.)
- Digital Animation Loops – Ghost ships, storms, tentacles, or glowing underwater effects. Choose video loops designed for projection/decor use.
- Decorative Details –
- Fishing netting (aged or tea-stained for realism)
- Spanish moss or reindeer moss for that “rotting ship” look
- Rope, rusty chain, or nautical accents
- Tentacle handle or anchor-shaped hardware
💡 Pro Tip: Look for free or recycled items — old TVs, scrap wood, or discarded nets from craft stores can keep costs low while adding authentic detail.
Step 1: Create the Pirate Door Base
Your door is the foundation of this prop, so make it look like it’s been ripped straight from a haunted galleon.
- Choose your base: A salvaged wooden door works great. If that’s not available, cut planks from plywood or use foam insulation boards carved with wood grain textures.
- Distress the surface: Beat the wood with a hammer, cut jagged edges, or carve cracks into foam to mimic rot and water damage.
- Paint for realism: Start with a dark base (black or espresso brown), then dry-brush gray, green, and lighter brown highlights to suggest years of saltwater exposure.
- Add faux rust: Dab on orange-brown paint near hinges or screws. Smudge with black for grime buildup.
💡 Pro Tip: For extra realism, add a few “barnacle clusters” using hot glue and dab with white and green paint.
Step 2: Add the Porthole Frame
The porthole is your window to the haunted seas.
- Mark the opening: Trace the inside of your porthole frame onto the door.
- Cut carefully: Use a jigsaw (for wood) or hot knife (for foam) to cut a clean circle.
- Mount the frame: Secure the porthole with screws, bolts, or epoxy. Make sure it’s removable if you want to access the screen later.
- Weather it: If your frame looks too new, paint on green patina or rust. A mix of metallic bronze and turquoise craft paint works perfectly for a corroded brass effect.
💡 Pro Tip: Add small scratches and dents to the frame for a battle-worn, authentic look.
Step 3: Set Up the Video Display
This is where the digital magic happens.
Option 1: Flat Screen or TV
- Place a small screen directly behind the porthole.
- Load your animation onto a USB drive or laptop and set it to loop endlessly.
- Adjust brightness so it’s strong enough to be seen at night but not washed out.
Option 2: Pico Projector
- Place the projector behind or above the door.
- Project onto a frosted acrylic sheet or thin screen fabric mounted in the porthole.
- Adjust keystone and zoom until the animation fills the circle perfectly.
💡 Pro Tip: If you’re using a screen, frost the glass or acrylic porthole cover with window film to diffuse light. This hides pixels and makes the effect look like it’s glowing from deep underwater.
Step 4: Choose the Right Video Effects
The animation you choose defines the mood of your prop. A few crowd-favorites:
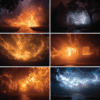
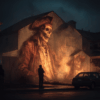
- Ghost Ship Loop – A sailing galleon drifting in fog, lightning illuminating its sails.
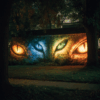
- Kraken Attack – Tentacles sliding past the porthole, occasionally slamming against the “glass.”
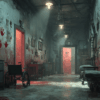
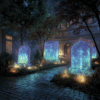
- Underwater View – Schools of fish swimming through eerie green-blue light, giving a submerged feel.
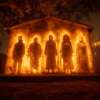
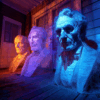
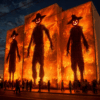
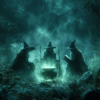
- Skeleton Crew – Pirate skeletons rowing, waving, or peering into the porthole from the other side.
💡 Pro Tip: Match your loop length to your haunt’s pacing. A short 30-second loop works for constant traffic, while longer 2–3 minute loops give more story for groups watching.
Ghost Ship Loop
Step 5: Dress It Up with Details
Physical details make the digital illusion believable.
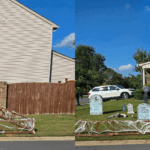
- Fishing Net: Drape loosely across the door and porthole. Stain with tea or spray with gray paint to dull newness.
- Moss & Lichen: Hot glue around cracks and hinges. Reindeer moss in bright green or yellow adds swampy decay.
- Ropes & Chains: Hang from corners or attach near the porthole. Rust up chains with cinnamon powder sealed in paint for texture.
- Tentacle Handle: Replace the doorknob with a sculpted octopus arm, or add small nautical props like a ship wheel or anchor plaque.
💡 Pro Tip: Keep decorations asymmetrical — one side heavier with netting, the other side lighter — so it looks naturally weathered, not staged.
Step 6: Sync It with Your Display
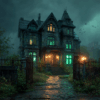
Finally, place your pirate door where it will shine:
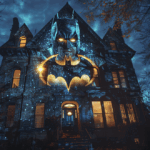
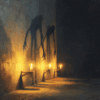
- Haunted Shipyard: Pair with barrels, crates, and lanterns.
- Cemetery Gate: Use it as an entryway to a haunted pirate graveyard.
- Standalone Feature: Lean it against a wall or fence as a creepy backdrop with fog rolling past.
Use blue or green floodlights to bathe the scene in eerie oceanic tones, and add a fog machine to give depth to the video illusion.
💡 Pro Tip: Time your fog bursts to line up with video effects like lightning or tentacle strikes for an immersive experience.
Final Thoughts
Adding video effects to a pirate door blends physical craftsmanship with digital magic, creating an unforgettable centerpiece for your Halloween haunt. With just a screen, projector, and some creative decorations, you can build a prop that looks like it stepped straight out of a haunted shipwreck.
⚓ Ready to start? Check out our Digital Effects Library for Pirate projection-ready loops to drop right into your build.